How to Process Missing Lidar Point Cloud Data Under the Forest Canopy
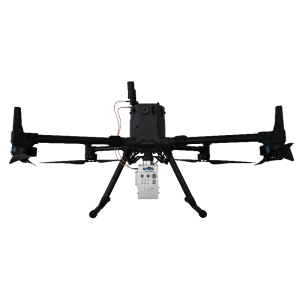
In real-time, UAV Lidar can directly obtain 3D information of an extensive range of ground characteristics and dense sampling points for all ground objects. The unique advantages of getting high point density and accuracy have increased demand for UAV Lidar in emergency disaster terrain analysis, forestry resources survey, and many other fields.
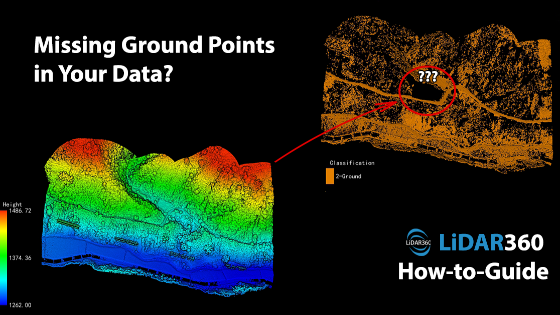
However, complex data or interference is inevitable during the scanning process due to the complexity of ground objects and environments. The laser pulses emitted by airborne Lidar sensors can only partially penetrate the occlusion of trees, especially in areas with dense vegetation. That will often leave large areas of missing points under the forest.
"Data holes" under forests affect the integrity and accuracy of data, as some scanned sections may not appear. Therefore, it will decrease the overall data quality of terrain models such as DEM, DSM, and CHM, increasing the difficulty of subsequent data application. Before further point cloud data processing, it is necessary to patch these missing sections to ensure the integrity of terrain features.
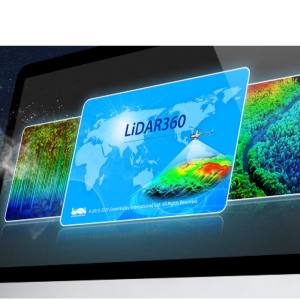
The "Simulate Ground Points" tool in LiDAR360 can quickly resolve these missing terrain point cloud areas hidden under the forest. At the same time, it supports exporting the simulated ground point file. Then users can import them back into LiDAR360 to create terrain models such as digital elevation and contour lines. This will improve the accuracy of point cloud normalization and single tree segmentation in forestry analysis. This case study mainly uses the Simulate Ground Points tool to produce normalized point cloud data.
The steps are as follows:
- Ground Point Classification: Toolbox > Classify > Classify Ground Points. Select the corresponding terrain scene according to the terrain of the survey area and separate the ground points and non-ground points.
- Activate Profile Editing: Terrain > Profile Editor > Start Edit > TIN. Select the initial class. Typically, “Ground” is selected to build a triangulation model to assist in editing ground points.
- Simulate Ground Points: Open the Simulate Ground Points tool. A new “Ground Points” layer is automatically created, and the simulated ground points will be saved in this layer by default.
- Generate DEM: Toolbox > Terrain > DEM. Check the “Terrain feature objects” option, and import the *.DXF file generated in step 3 will participate in the generation of DEM.
- Normalize by DEM: Toolbox > Data Management > Point Cloud Tools > Normalize by DEM. This function is similar to the Normalize by Ground Points tool. It can remove the influence of terrain fluctuations on the elevation value of point cloud data. Add the DEM file generated in step 4 through the drop-down box or click the add external file data button.
Through the following steps, users can generate normalized point cloud data. The production of DSM and contour lines can also refer to this workflow.

Original Terrain Point Cloud - Before
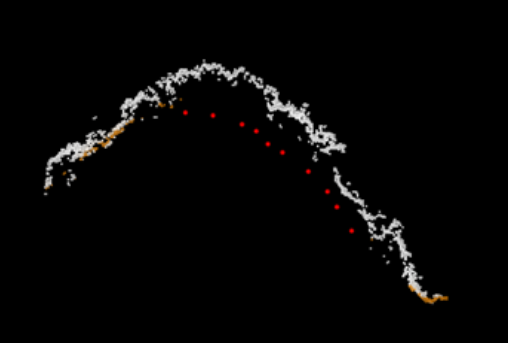
Processed Terrain Point Cloud - After
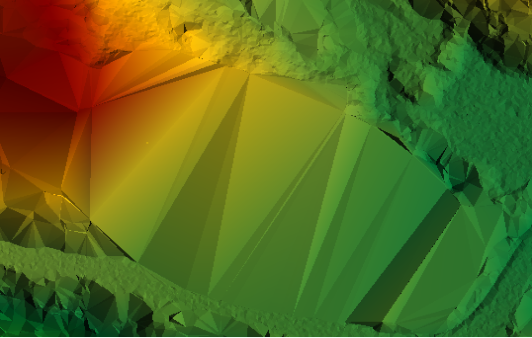
Original TIN Data - Before
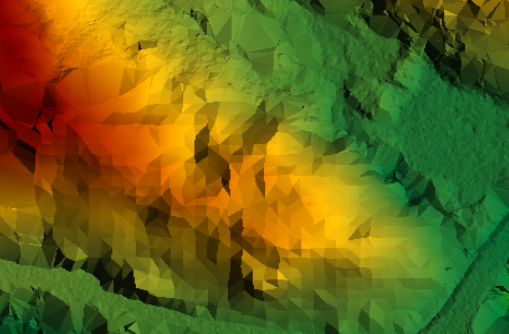
Processed TIN Data - After
Do you have questions about this case study?
Get in touch with GreenValley International, and they would be happy to answer any questions you have about pricing, suitability, availability, specs, etc.


![Do-Giant-Tortoises-Make-Good-Neighbors-1[1].jpg](https://cdn.geo-matching.com/vRMO2Edp.jpg?w=320&s=a6108b2726133ff723670b57bc54c812)


